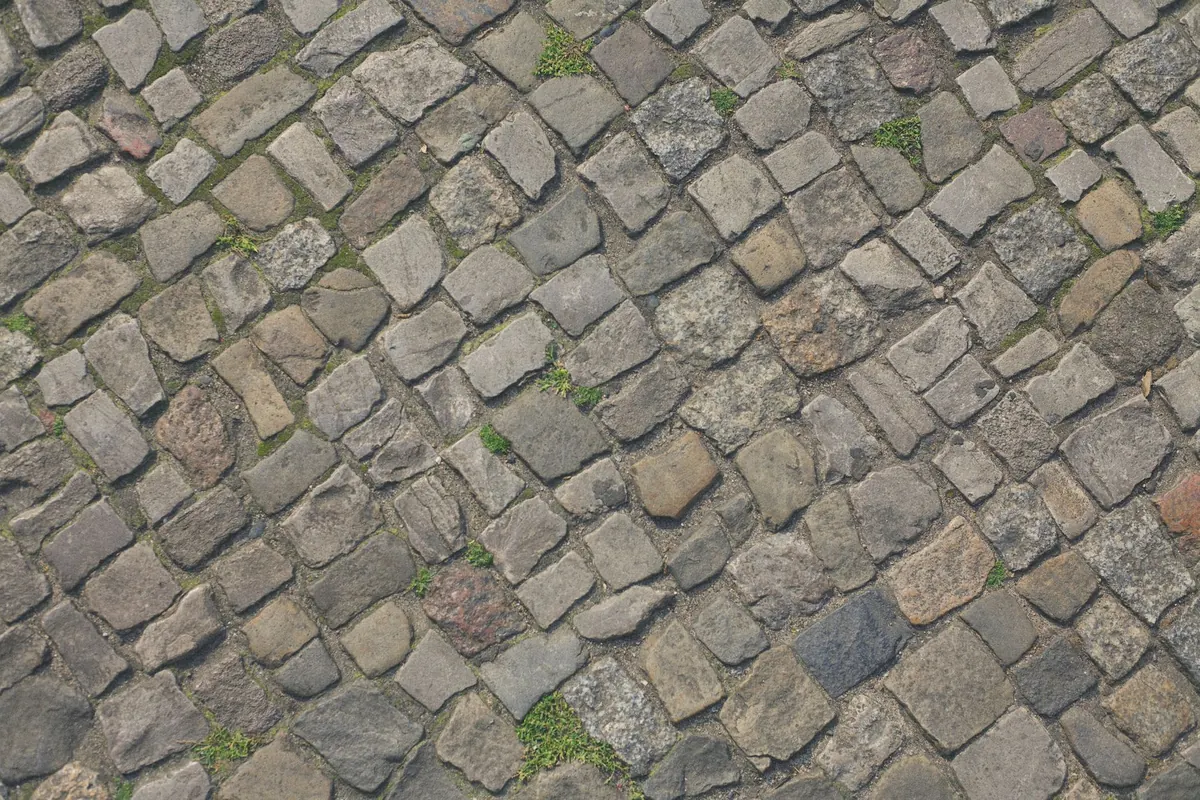
Restoring Old Cobblestone Paths: Cleaning, Repointing and Resetting Loose Stones
Old cobblestone paths have a quiet dignity. Even when moss creeps between the joints and a few stones rock underfoot, the underlying craft is usually still there—waiting to be revealed. Restoration is not about making them look new. It is about stabilising what remains, replacing what is lost, and letting the surface age gracefully for another generation. The work falls into three main tasks: cleaning, repointing, and resetting loose stones. Each demands patience and a light touch.
Assessing the path before you start
Before you touch a brush or a trowel, spend time looking. Walk the path in dry and wet weather. Note where water pools, which stones move, and how the joints have failed. Old cobbles are often set on a bed of sand, gravel, or lime mortar, with joints filled by similar material. If the pointing is hard cement, it may be trapping moisture and causing stones to crack or flake. That cement will need to come out—carefully.
Identify the stone if you can. Granite and basalt are tough; limestone and sandstone are softer and more porous. The bedding and mortar should always be softer than the stone itself, so that any movement works on the mortar rather than the cobble. A simple scratch test on an inconspicuous stone can hint at hardness, but if you are unsure, seek advice from a conservation officer or a specialist supplier.
If the path sits in a conservation area or beside a listed building, check with your local planning authority before making significant changes. Even small repairs can require consent.
Cleaning without damaging the surface
Forget the pressure washer. On old cobbles, high-pressure water can erode the stone, blast out fragile mortar, and drive moisture deep into the bedding. Instead, start with a stiff broom or a hand brush. A wooden scraper or a plastic spatula shifts moss and mud without scratching. For stubborn dirt, use water and a mild detergent—washing-up liquid is fine—and rinse thoroughly.
Weeds and moss can be lifted with a hand fork or a hoe. If you want to keep some lichen for character, leave it alone; it does not damage the stone. If you must remove it, do so gently and expect it to return. Never use acid-based cleaners, and avoid bleach, which can stain and weaken the surface.
Work in small sections. Clean a metre or two, rinse, and move on. On a warm day, keep the stone damp so that any mortar you later apply does not dry too quickly.
Repointing with a sympathetic mortar
The joints are the path's weakest point—and its best defence. Repointing means raking out old, crumbly mortar and replacing it with a mix that matches the original in strength, colour, and texture. For historic cobbles, that almost always means lime mortar, not cement. Lime is breathable and flexible; cement is hard, brittle, and traps water.
A common starting mix is one part lime to three parts well-graded sharp sand, but follow the manufacturer's guidance for the lime you buy. Non-hydraulic lime putty needs air to set; natural hydraulic lime sets with water and is more forgiving in damp conditions. Whichever you choose, the mortar must be softer than the cobbles.
Rake out the joints to a depth of about twice their width—usually 20–25mm—using a mortar rake or an old chisel. Brush out dust and dampen the joints. Pack the mortar in layers, pushing it in firmly with a pointing tool or a small trowel. Avoid smearing it over the stone face. Finish the joint with a profile that sheds water, such as a slightly recessed or weather-struck finish. Keep the new mortar damp for a few days by misting it with water and covering it with hessian if frost is forecast.
Resetting loose stones
A rocking stone is a hazard and a sign that the bedding has failed. Resetting it is straightforward if you take your time. The goal is to reuse the original stone wherever possible and to rebuild the bed so the surface is level and well drained.
Here is a simple sequence:
- Lift the stone carefully with a trowel, a pry bar, or a pair of hand forks. Set it aside on a board.
- Clean old mortar and soil from the stone and from the hole. Keep the hole's shape intact.
- Check the bedding. Remove any loose material and dampen the base.
- Add fresh bedding—sharp sand, fine gravel, or a lime mortar mix—and compact it lightly.
- Lower the stone into place. Check the level with a straight edge and a spirit level, and make sure water will run off.
- Tamp the stone gently with a rubber mallet. If it rocks, lift it and adjust the bedding.
- Fill the joints with the same lime mortar used for repointing. Tool the joints and clean the surface.
If a stone is broken beyond repair, replace it with a matching reclaimed cobble. New stone can look harsh next to old, so consider a reclaimed piece or one with a similar weathered finish.
Aftercare and the long view
Fresh lime mortar needs time. Keep foot traffic off the path for at least a few days, and longer in cool, damp weather. Protect it from frost with hessian or a tarpaulin. Mist it gently if the surface starts to dry too fast; lime cures best when it stays slightly damp. After a week or two, you can sweep the path with a soft brush. Avoid washing it with harsh chemicals, and do not seal it. Cobbles need to breathe.
Over time, moss and lichen will return. That is not a failure. It is part of the patina that makes an old path worth keeping.
When to call in a specialist
Some jobs are best left to someone with experience. If the path is extensive, if the stones are badly worn or the bedding is failing across a wide area, or if drainage needs redesigning, bring in a conservation specialist. The same applies if you are unsure about the stone type, the mortar, or any planning requirements. A good specialist will repair rather than replace, and will match materials carefully.
For smaller paths, though, careful DIY work can be deeply satisfying. The tools are simple, the materials are affordable, and the results last. Take your time, test a small area first, and let the cobbles tell you what they need.
Photo: Inti Tupac Liberman / Pexels